
Introduction
Every AFM measurement starts as raw electrical noise: a photodiode voltage, a piezo drive signal. Calibration is the process that turns those numbers into values a researcher can actually trust: force in newtons, distance in nanometers.
This used to matter mostly for careful imaging. Not anymore. AFM now drives quantitative nanomechanical testing, single-molecule force spectroscopy, and electrical property mapping, where the entire result lives or dies on how well the instrument was calibrated beforehand.
Many labs still treat calibration as an afterthought, and the data suffers for it. This article walks through what AFM calibration actually means, why it decides whether quantitative results hold up, the main calibration methods available today, and how to pick the right one for your measurement.
TL;DR
- Calibration converts raw photodiode/piezo signals into real force and distance units—required for quantitative work
- Three categories matter: normal spring constant, lateral/torsional force, and XYZ scanner calibration
- Choose the method based on measurement type, accuracy needs, and available equipment
- Skipping calibration or trusting nominal values alone can introduce errors well beyond 10%
What Is AFM Calibration?
Calibration establishes the relationship between what the instrument outputs and what those numbers physically mean. A photodiode reads volts. A piezo scanner takes a drive voltage. Neither of those is useful until you know how many nanometers of cantilever deflection or sample movement each volt represents.
Practically, AFM calibration covers three separate instrument parameters:
- Normal spring constant (k_n) — how stiff the cantilever is in the vertical direction
- Lateral/torsional spring constant — how the cantilever twists under sideways force
- Piezoelectric scanner sensitivity (x, y, z) — how far the scanner actually moves per volt applied
Here's the part researchers sometimes miss: this isn't a one-time factory setting. Cantilevers get swapped, tips wear down, piezos age and drift. Every one of these changes shifts the calibration values you're relying on.
Treat calibration the way you'd treat any lab instrument check: a routine step done before quantitative experiments, not something you set once and forget. A cantilever from the same production batch as your last one can still differ in spring constant by a significant margin.
Why Is AFM Calibration Important in Nanoscale Research?
Force, stiffness, adhesion, and friction measurements are only as good as the calibration values used to convert raw signals into physical units. Get the calibration wrong, and the whole downstream analysis is wrong, even if the raw data collection was flawless.
The published numbers on this are sobering. NIST researchers testing thermal tune calibration across commercial AFMs found repeatability of just 1-2% under controlled conditions, but systematic uncertainty for the tested implementations fell within ±10% (Gates et al., NIST, 2011). That's the good scenario.
It gets worse when comparing across labs. A three-laboratory round robin study found spring constants averaging 30% below the values cantilever manufacturers had listed as nominal, with relative standard deviations between labs ranging from 6% to 11%.
What does this mean in practice?
- Two labs measuring the same sample can report meaningfully different stiffness or adhesion values
- Published nanomechanical data becomes hard to reproduce or compare across studies
- Uncalibrated scanners add their own errors: distorted particle sizing, inaccurate roughness values, and topographic artifacts that undermine dimensional claims
None of this means AFM is unreliable. It means the calibration step deserves the same rigor as the measurement itself.
Types of AFM Calibration Methods
AFM calibration covers three distinct problems. Each one needs different techniques depending on the cantilever, the application, and how much precision you actually need. Most researchers end up combining methods: one for normal force work, another for friction studies, a third for verifying scanner accuracy.
Cantilever Spring Constant (Normal Force) Calibration Methods
Determining a cantilever's normal spring constant can be done a few different ways, and they trade off accuracy against convenience.
- Geometric/beam mechanics calculation — calculates stiffness from cantilever dimensions and elastic modulus. Works fine for uniform, uncoated rectangular levers, but coatings, irregular shapes, or colloidal probes throw this approach off badly.
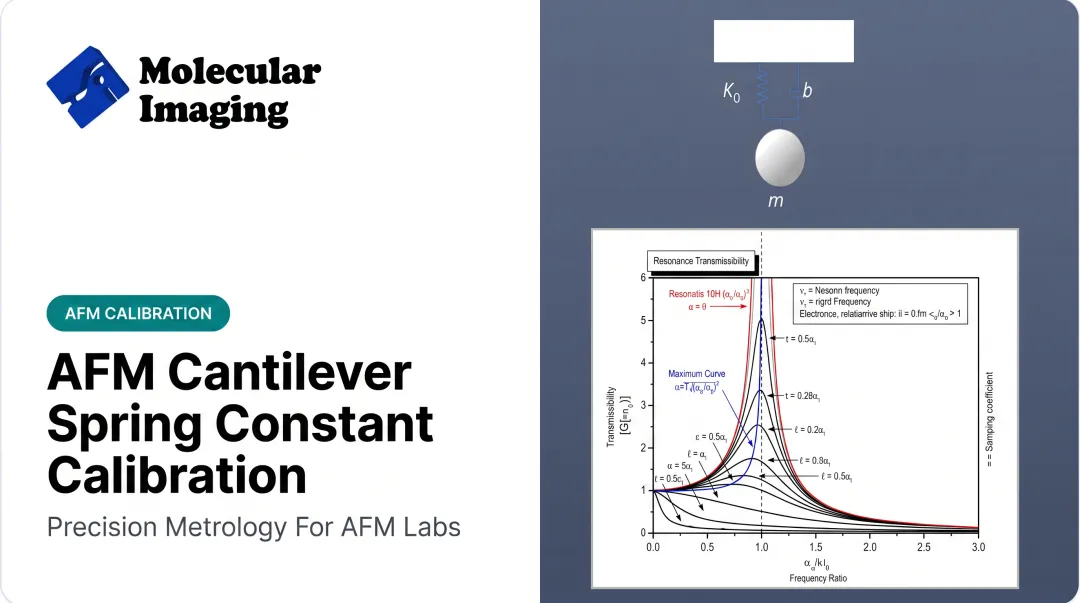
- Thermal tune method — uses the equipartition theorem to relate a cantilever's thermal noise spectrum to its stiffness. It's fast, built into nearly every AFM software package, and needs no sample modification.
- Added-mass method — attaches a known microsphere (tungsten or gold) to the cantilever and compares resonance frequencies before and after. NIST reported roughly ±6% relative uncertainty with this technique, with most of the error coming from estimating the sphere's mass.
- Laser Doppler Vibrometry (LDV) — a noncontact, SI-traceable reference method. Optimized LDV measurements have achieved uncertainty of ±1% or better, validated against NIST's electrostatic force balance to within 0.5%.

Which method fits depends on the work. General force spectroscopy and everyday nanomechanical measurements (stiffness, adhesion, Young's modulus) are usually well served by thermal tune. It is quick and needs nothing beyond the AFM itself.
Publication-grade quantitative work, especially with irregular or coated cantilevers, benefits from LDV-based calibration or a certified reference cantilever. Labs that need routine checks without a dedicated LDV setup often pair thermal tune with grating-patterned or gold-on-mica reference substrates—the same class of standards Molecular Imaging supplies for day-to-day verification.
Lateral (Torsional) Force Calibration Methods
Normal force calibration tells you nothing about friction. Lateral force measurements need their own calibration path because the torsional spring constant and tip height both factor into the conversion from photodiode signal to actual force.
Two approaches dominate here:
- Wedge method — compares lateral and normal signals across surfaces with known slopes. It is widely used, but the limitations are real.
Testing against a direct lateral-force calibrator found wedge-method errors greater than 15% for some cantilevers (Li et al., Review of Scientific Instruments, 2006). At nanonewton loads, errors can jump by orders of magnitude if adhesion is not kept much smaller than the applied load. 2. Applied-force methods — bending a calibrated glass fiber (roughly 100 μm long, 1 μm in diameter) or a microfabricated MEMS standard with the AFM tip. These directly convert photodiode output to force and work across cantilevers of different shapes, stiffness, and coatings without needing tip-height measurements.
The applied-force approach is not flawless either. Glass fiber calibration has shown overall calibration-factor errors around 26%, and large deflections introduce nonlinearity.
Transferability still makes it attractive for friction work on 2D materials such as graphene. Single-layer graphene has even been used as a low-roughness reference surface for lateral force calibration.
Choose wedge methods when you have access to a proper sloped reference substrate and don't mind the tip-geometry assumptions. Choose applied-force methods when cantilever variety or coating differences make a universal standard more valuable.
Scanner and Reference-Sample (XYZ) Calibration Methods
Force calibration alone does not guarantee accurate images. Scanner calibration corrects the piezoelectric scanner's nonlinearity, hysteresis, and creep by scanning a certified reference sample and comparing the result against its known dimensions.
Typical reference samples are silicon gratings with step heights and pitch features somewhere between 10-100 nm. The AFM images the standard, and any deviation from its known geometry reveals scanner error.
- Reference samples directly validate real-world imaging accuracy, not just theoretical performance
- Calibration gratings and gold-on-mica substrates (including those available from Molecular Imaging) support routine scanner checks on AFM and STM systems
- Independent methods, like tracking a known slope with an optical lever against a closed-loop nanopositioning stage, offer another route for characterizing hysteresis and creep specifically
The catch: these samples are fragile and expensive, and contamination or rough handling can render them useless almost immediately. Piezo sensitivity also drifts with age regardless of how carefully you handle your standards, meaning scanner calibration needs to be repeated periodically, not just after installation.
| Calibration Type | What It Measures | Typical Method | Reported Uncertainty |
|---|---|---|---|
| Normal spring constant | Cantilever vertical stiffness | Thermal tune, LDV, added mass | ±1% (LDV) to ±10%+ (thermal tune) |
| Lateral/torsional force | Friction/lateral force conversion | Wedge method, applied-force (fiber, MEMS) | 15%+ (wedge) to 26%+ (fiber) |
| XYZ scanner sensitivity | Piezo lateral/height accuracy | Certified gratings, step-height standards | Method- and instrument-specific |
How to Choose the Right AFM Calibration Method
There's no single "best" calibration method. The right choice depends on what you're measuring, how accurate the result needs to be, and what's sitting in your lab.
Work through these factors before deciding:
- Type of measurement: normal force spectroscopy, lateral/friction work, and topographic imaging each demand a different calibration path
- Required accuracy: routine imaging tolerates thermal tune calibration just fine; publishable nanomechanical data often needs LDV verification or a certified reference cantilever
- Cantilever type and coating: irregular, coated, or colloidal-probe cantilevers don't play well with pure beam-mechanics calculations; lean on thermal or dynamic methods instead
- Equipment and budget: LDV and MEMS-based calibration devices deliver excellent accuracy but cost real money; thermal tune and reference gratings are far more accessible for most labs
- Recalibration frequency: shared instruments in a core facility, handling varied experiments and frequent cantilever swaps, need more frequent recalibration than a single-user setup running one type of experiment repeatedly

Common pitfalls worth avoiding:
- Trusting manufacturer nominal spring constants without independent verification—the VAMAS study found deviations around 30% from nominal values
- Skipping scanner calibration after replacing or servicing a piezo element
- Reusing a contaminated or scratched reference sample instead of cleaning it or swapping it out
If an instrument needs recalibration, evaluation, or repair and you lack in-house capability, Molecular Imaging's ZoomAFM service covers AFM and STM systems.
It also helps to confirm your team has the calibration fundamentals down. Molecular Imaging's video course includes a dedicated module on calibrating the controller and scanner, useful groundwork before you take on advanced calibration work independently.
Conclusion
Every quantitative number an AFM produces, whether stiffness, friction, or step height, traces back to how well the instrument was calibrated beforehand. Skip that step, or do it carelessly, and the measurement becomes meaningless.
No single method covers all three calibration needs. Normal force, lateral force, and scanner sensitivity each demand their own approach. The right choice depends on your cantilever, your equipment, and the precision the experiment requires.
Match the method to the measurement and repeat it on a reasonable schedule. You'll spend far less time wondering why your data doesn't match the lab down the hall.
Frequently Asked Questions
How accurate is the atomic force microscope?
Accuracy depends almost entirely on calibration quality. Well-calibrated systems achieve sub-nanometer height resolution and lateral resolution of a few nanometers. Poorly calibrated systems can carry force or distance errors of 10–50%.
How do I prepare samples for AFM?
Immobilize samples on a flat, clean substrate like freshly cleaved mica. Use spin-coating or air-drying for solutions, and avoid contamination or excess surface roughness that could interfere with tip tracking.
How often should AFM cantilevers be calibrated?
Recalibrate whenever you swap cantilevers, after noticeable wear, or before any critical quantitative experiment. Spring constants can vary substantially even between nominally identical cantilevers from the same batch.
What is the difference between spring constant calibration and sensitivity calibration?
Spring constant calibration determines cantilever stiffness in N/m. Sensitivity calibration relates the photodiode signal to actual deflection in nm/V. You need both to convert a raw voltage into an actual force value.
Can AFM calibration be done without specialized equipment?
Yes. Thermal tune calibration is built into most AFM software and needs no additional hardware. Higher-precision methods like LDV or certified reference standards require dedicated equipment most labs won't have on hand.
What reference materials are commonly used for AFM calibration?
Common choices include certified silicon calibration gratings, NIST Standard Reference Cantilevers (SRM 3461), and glass fiber or MEMS-based devices for lateral force calibration.